Exporting documents
The process of exporting and viewing documents is a crucial step within our product that ensures the seamless transition of processed data to the designated destination folder. This comprehensive documentation outlines the steps required to manually export documents after the manual process and quality check, and how to subsequently view or re-export them as needed.
Document export and viewing are essential aspects of the document processing workflow, enabling users to efficiently manage and access processed data. By following this documentation, users can confidently navigate the document export process, view exported documents, and make any necessary adjustments.
Key Steps for Document Export and Viewing
Manual Process and Quality Check: Before proceeding with document export, ensure that the manual process and quality check are completed to ensure accurate data.
Export Process: Initiate the document export process to transfer the processed data to the designated destination folder.
View and Re-Export: After exporting the documents, users can view them and, if necessary, re-export them for further use.
Note:
If you encounter any issues, contact your system administrator.
Accessing Export Documents
To access the Export Documents page, follow these steps:
-
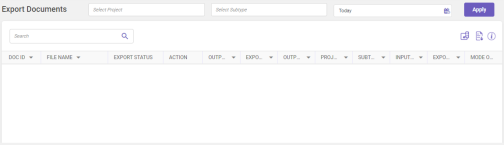
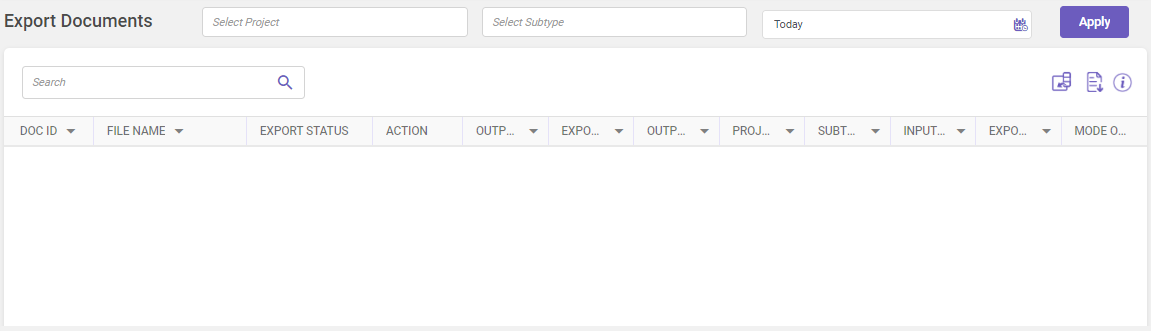
In the main menu, under Documents Processing, click Export Documents. The Export Documents page opens.
-
Select the project and subtype from the drop-down to view the records for a pre-defined duration or use the
 icon to specify the required duration and then click Apply.
Note:
It is mandatory to select Project to display the records.
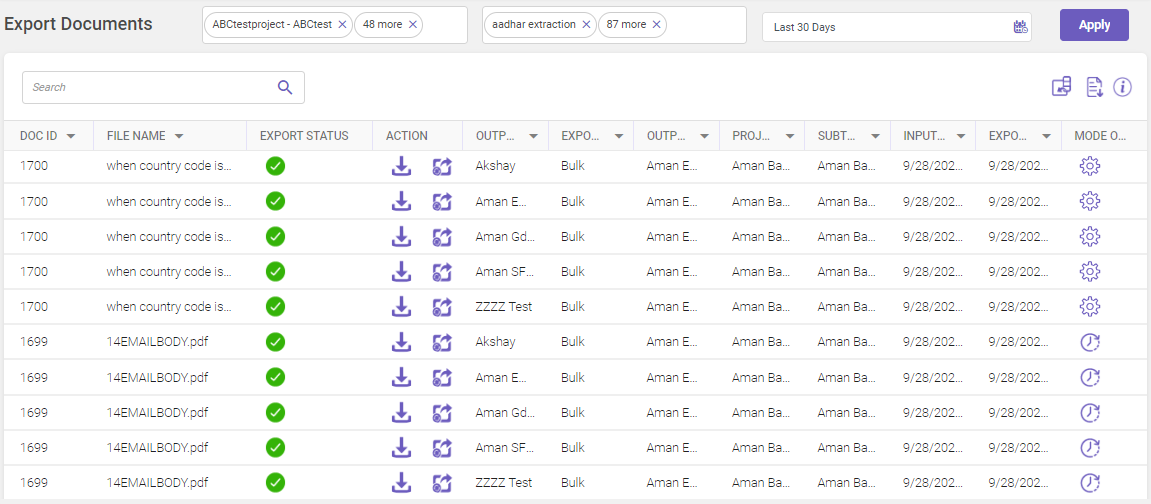
Following activities can be done on Export Documents page once records are displayed.
-
Utilize the Search field to filter and find specific records within the displayed grid (Refer searching data).
-
Click the column chooser icon
 to manage the display of columns. You can check/uncheck the columns you want to include or exclude from the Export Documents page.
-
Click
 to export all the document records in excel format.
-
Click
 to view the column descriptions.
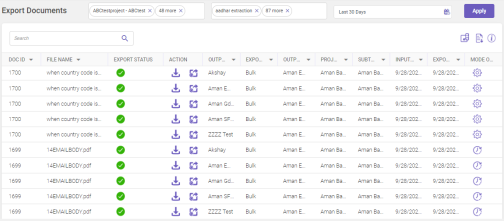
Column header descriptions
COLUMN NAME
DESCRIPTION
Doc ID
Displays the document ID.
File Name
Displays the name of the file being exported.
Export Status
Displays the status of the export process.
 Completed,
 File created but not exported, and
 Failed.
Action
Displays the action to be performed.
 to export the document,
 to download the document, and
 to re-export the document.
Output Name
Displays the output file name.
Export Type
Displays the type of export — Batch, Bulk, and Document.
Output File Name
Displays the name of the output file being generated along with the output file type.
Project
Displays the project name.
Note
Using the column chooser
icon, check/uncheck the Project column name to include/exclude from being displayed on the Export Documents page.Subtype Name
Displays the subtype name.
Note
Using the column chooser
icon, check/uncheck the Subtype Name column name to include/exclude from being displayed on the Export Documents page.Input Date
Displays the date when the document was received in the system.
Note
Using the column chooser
icon, check/uncheck the Input Date column name to include/exclude from being displayed on the Export Documents page.Export Timestamp
Displays the date and time when the document was exported by the system.
Note
Using the column chooser
icon, check/uncheck the Export TImestamp column name to include/exclude from being displayed on the Export Documents page.Mode of Export
Displays the mode of export either
 scheduled or
 manual.
Note
Using the column chooser
icon, check/uncheck the Mode of Export column name to include/exclude from being displayed on the Export Documents page. -
Note:
-
The exported file is saved in filename.{ex|rex}.yyyymmddhhmmss format, where filename represents the original input filename, ex and rex denotes export and re-export, and yyyymmddhhmmss is the time-stamp.
-
The user will be allowed to export documents only if all the siblings of the parent are at the export ready stage. User can still export documents without waiting for all siblings to be at the ready to export stage by enabling the Allow Sibling Export toggle switch at the project level.
-
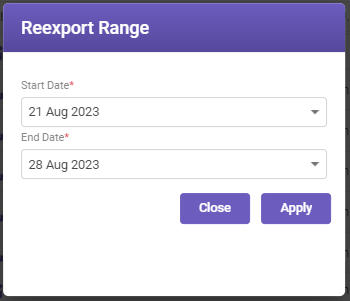
When re-exporting documents that have already been exported, if the user has changed the document type while trying to re-export the documents, the user will have the option to select the date range (see below image) before proceeding with the re-export.

NEXT
Now that you have exported the document in the desired output format, if there's nothing else to process then let's log out.
Useful links
Integrated documents processing